Your first hive inspection is the moment beekeeping stops being theory. You have the suit, the smoker, the hive tool, and a colony of thirty thousand insects behind a thin wooden wall. The good news is that bees are not looking for a fight. They are looking for someone calm who opens the roof, does the job, and closes it again without squashing anybody. Get that part right and everything else gets easier.
Choose the Right Moment
Timing does much of the work for you. Open a hive on a warm, still, dry afternoon, when the foragers are out and thousands of bees are away from home. Around 15°C or above is a sensible guide. Bees get tetchy in the cold, and brood can be chilled if the cluster is broken up for too long. Avoid rain, wind and the heavy, thundery afternoons when colonies are famously short-tempered.
Go in with a purpose. “Just having a look” is how inspections stretch to half an hour and colonies get stroppy.
Have Everything Within Reach Before You Lift the Roof
Every second the hive is open counts, so set yourself up properly. Park the smoker where you can grab it without stepping away, and keep what you need on a flat surface beside you.
- A lit smoker with cool, white smoke — not a hot blast
- A hive tool, kept in your hand rather than on the ground
- Clean gloves and a well-zipped suit; light colours are easier for bees to read as harmless
- A spare box or nuc to rest frames in, or to hold one you need to remove
- Your record book and a pencil — a pen dies in a pocket full of propolis
- A container for scraped brace comb, and a cloth for sticky hands
Stand to the side or behind the hive rather than in the flight path. The guard bees at the entrance have enough to think about without you blocking the doorway.
Opening the Hive Slowly
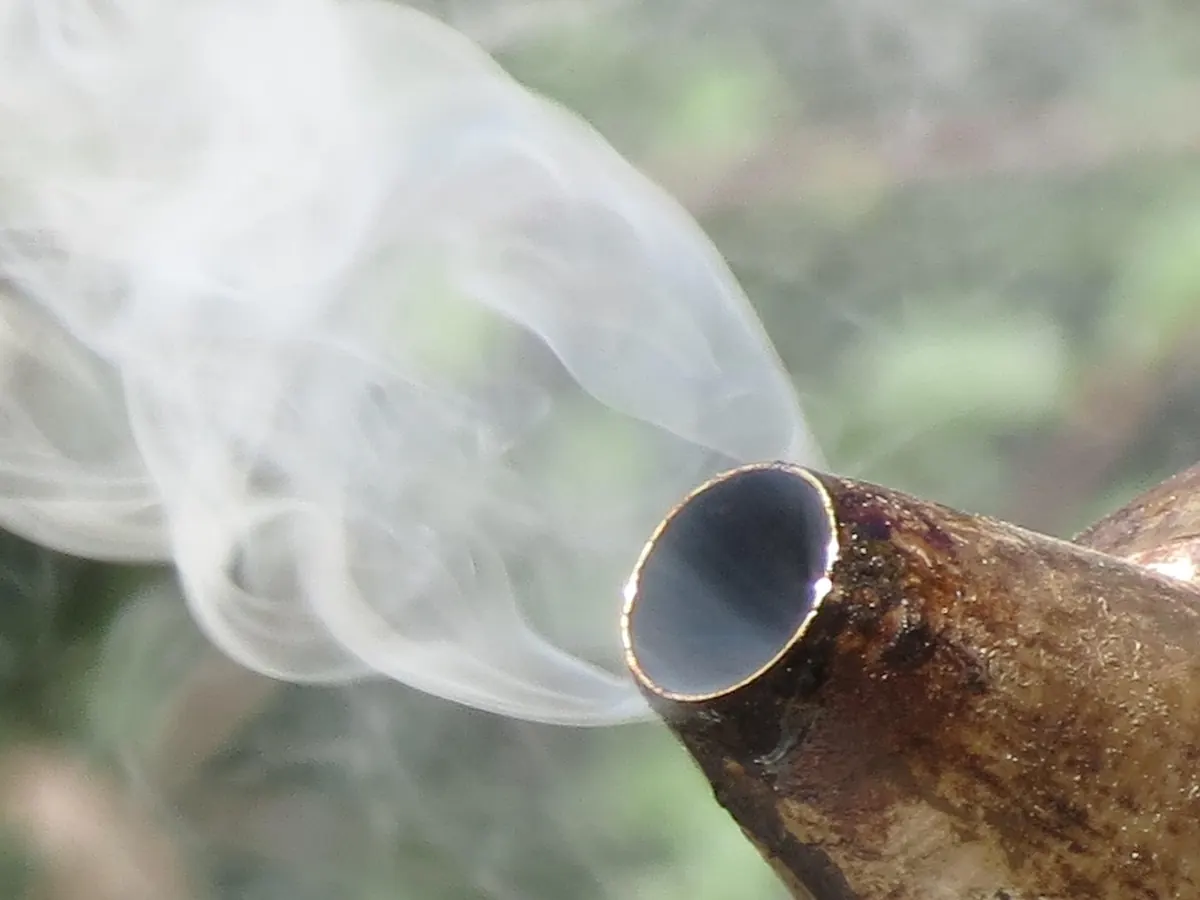
Give one or two gentle puffs of smoke at the entrance, then wait a few seconds. Smoke does not sedate bees; it disrupts their alarm pheromone and nudges them down to feed, which leaves them calmer and less inclined to fly at you. Lift the roof straight up and set it upside down on the ground — it makes a useful shelf. Place the crown board on top of it.
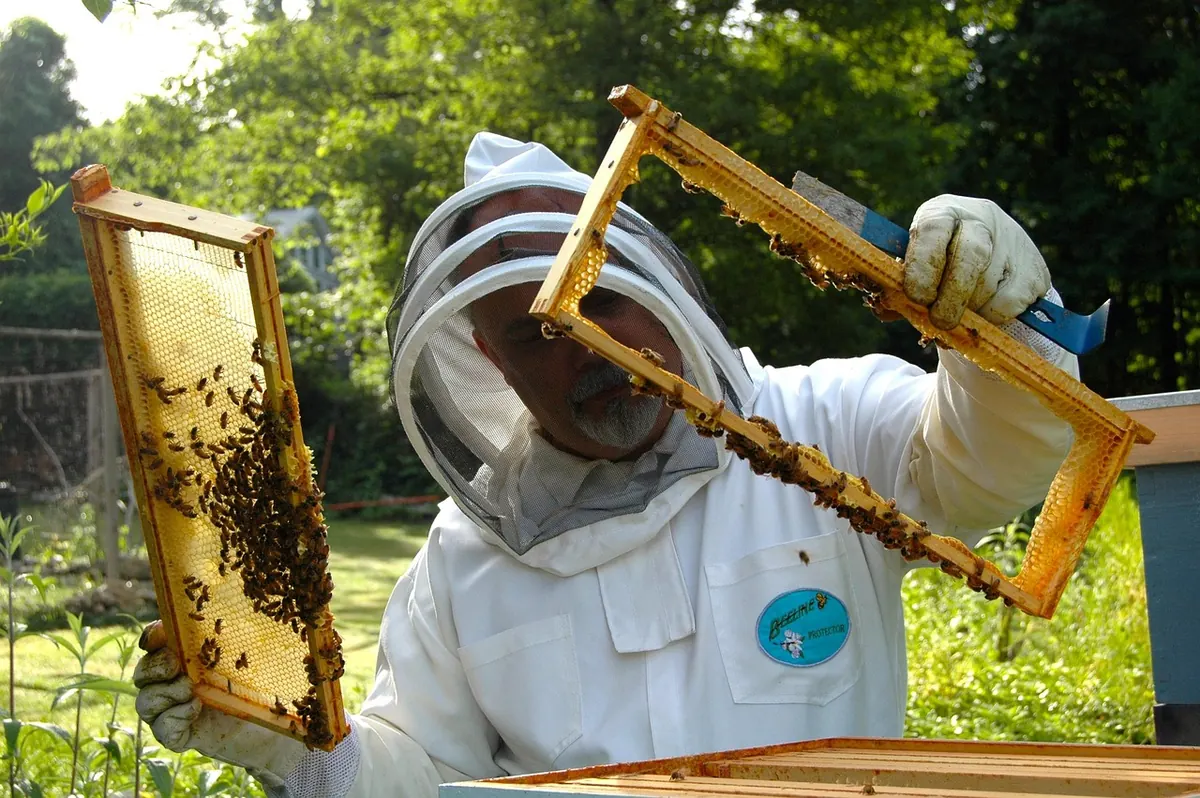
Use the hive tool to break the propolis seal, working around the edges rather than levering hard at one corner. A small puff across the top bars, a count of five, then lift the crown board away. From here, work frame by frame: loosen the first with the hive tool, then lift it slowly and straight up. Do not roll it along the top bars, because that is how bees get crushed and how a quiet colony becomes an angry one. Rest the frame outside the box so you have room to move the others.
Reading the Frames
Hold each frame over the hive, tipped slightly so light falls across the comb, and take in the whole picture before hunting for details.
What a healthy brood nest looks like
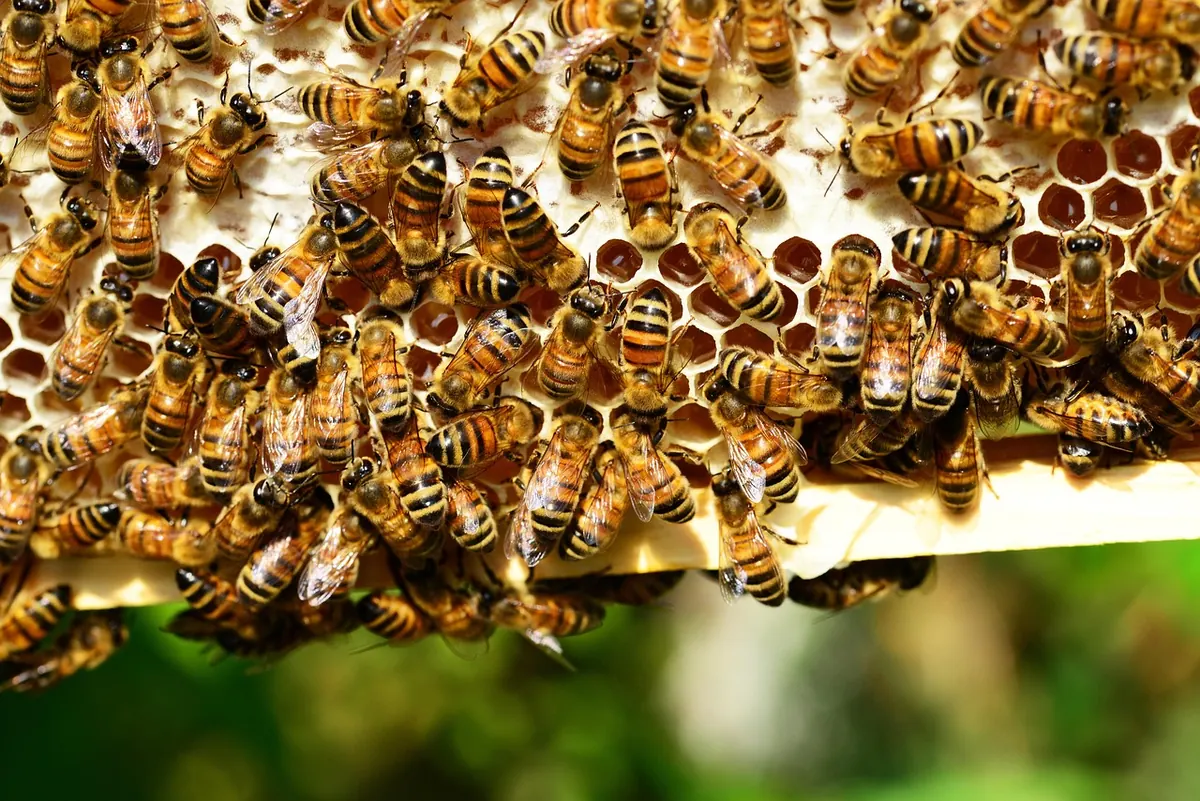
A good queen lays in a solid, expanding pattern with few gaps, ringed by a band of pollen and then honey at the outer edges. You may see every stage at once: tiny white eggs standing upright in the base of cells, small C-shaped larvae glistening in royal jelly, and flat, biscuit-coloured cappings over sealed brood. Drone brood is different — bullet-shaped, raised cappings, usually towards the lower corners of the comb. That is normal.
What you do not want to see: a patchy, scattered brood pattern, sunken or perforated cappings, a sour or foul smell, or larvae discoloured and slumped in their cells. Any of those is a reason to close up carefully and ask your local association for advice rather than shuffling frames around.
Stores and space
Check the honey arc above the brood. If the bees are filling every frame and the brood nest has nowhere to expand, they will soon be thinking about swarming. A strong colony in a good season is your signal to add a super. If you find queen cells along the bottom of the frames, treat it as serious: the colony has decided to reproduce and you need a plan, not a spur-of-the-moment decision.
Finding the Queen — and What to Do If You Cannot
On your first few inspections, do not make the queen your only objective. If you find eggs and young larvae, you have proof she was laying within the last few days, and that is usually enough.
When you do look, scan the frame in a slow grid rather than staring at random. She is longer than the workers, with a tapering abdomen that extends well past her wingtips, and she often moves away from bright light towards the darker part of the comb. Turning the frame so light falls across it helps. Many queens are marked with a coloured dot, which saves a lot of squinting. If you spot her, note it, admire her briefly, and put the frame back. Picking up a queen is a skill for another day.
Records Worth Keeping
Write it down before you take your gloves off, because you will not remember by teatime. Note the date, the weather, the colony’s temperament, how many frames of brood and stores you saw, whether you saw the queen or eggs, any queen cells, and anything that seemed off.
A plain notebook works; so does a spreadsheet. What matters is consistency, because the value is in comparison. The same colony in April and June tells you far more than a single snapshot, and a slow decline in brood or a shift in temperament will show up in your notes long before it shows up in the honey crop.
Closing Up and Leaving Them to It
Reassemble in reverse: crown board, then roof, checking that you are not trapping bees between the boxes. Be quick but unhurried, and avoid a last-minute puff of smoke for no reason.
Then step back and watch the entrance for a few minutes. Within ten minutes or so, calm bees should be carrying pollen in and orienting on the landing board as if nothing happened. That is your feedback. If they boil out of the entrance and stay defensive all afternoon, ask yourself what you did — a dropped frame, a bang on the roof, too long open in cool weather.
Finally, clean your hive tool and gloves before you visit another colony. Disease travels on equipment more easily than it travels on bees, and moving between colonies is exactly when it happens.
Photo: InspireBrilliance / Pixabay